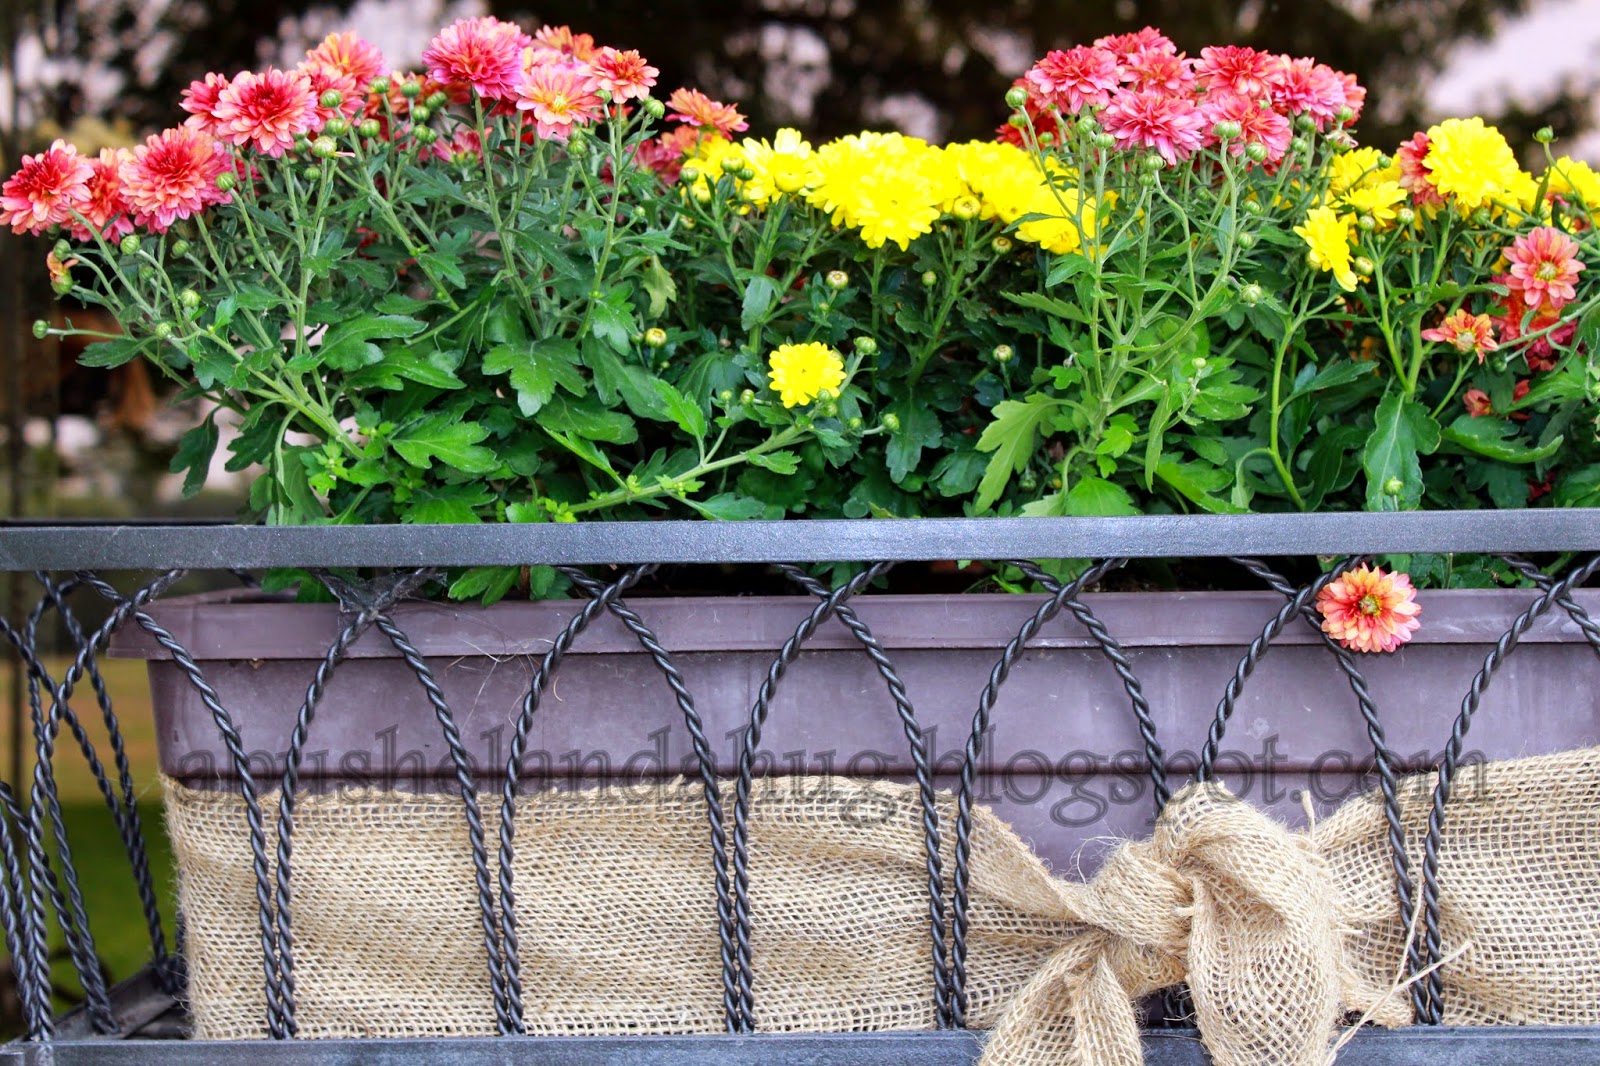
First things first Is the appearance of your home when you pull up the drive... don't you think? Well My existing "Summer" flowers were pretty sad because I had been gone and my husband didn't get them watered. I replaced them with some fresh new fall mums. I just plopped them in place where the old flowers were and spruced it up immediately. Then I just took some burlap ribbon and tied it around the containers. The even left the plan below in the original container and the burlap covered up the writing on the pot. Another hint- and something I've done many times too, if you want to just use the same plastic pot they came in, I have just spray painted it to cover the wording on the pot and it looks great as well.
.JPG)
I also did a quick project on my picnic table. I found this idea on Pinterest but it comes from an awesome blog called Vintagerevivals.com.
.JPG)
Our party was outside so I wanted to freshen up our picnic table that had turned gray from the weather. This was super easy and quick. Although, I have to admit I skipped one fairly important step because time was an issue. I skipped the "SANDING" step. It would have made a big difference in the outcome. However, considering the small amount of time I invested in this project, I am very happy with the way it came out.
First I taped off the design on the table. Make sure you press the tape down really well so the stain doesn't bleed underneath the tape. Next just paint or smear on the stain using an old rag. I used Minwax Jacobean. Once the stain dried I removed the tape to reveal the design. Next you will want to protect it. I used one coat of Minwax Helmsman Polyurethane, as it was the one recommended for outside use.
I think I may sand mine down in the Spring and redo this project for even better results because I LOVE LOVE The way her table turned out below. Don't You?!
 Here's the picture from her blog. It's so pretty. Click on the link above if you would like to see how she did hers. She has provided a good step-by-step process.
Well I have gotten my run in, and now it's time to clean up and do a little grocery shopping. I hope everyone has a great day!


No comments:
Post a Comment