Oct 30, 2014

Kitchen Aid Stand Mixer Repair and Spotlight Winner!

How Many of you have one of these beauties in your kitchen?
 This lovely lady has been a true workhorse in my kitchen for about 22 years.  Ok, I will admit that I have on occasion longed for one of the really cool stainless steel models....  but mine, well she's been faithful and I'm not ready to trade her in just yet.  Several months ago I noticed my beater had become chipped.  I ordered a new one and went about my business thinking all was fine. It seemed reasonable that after that many years the coating had just weakened. 

A couple of weeks ago I noticed that my NEW beater already had a chip on it. WHAT THE  HECK!  My first thought was that they just don't make them like they used to but after some research I found that there are actually some adjustments you CAN  and probably should make to your mixer.  If yours has been around as long as mine then I would assume adjustments are possibly due.
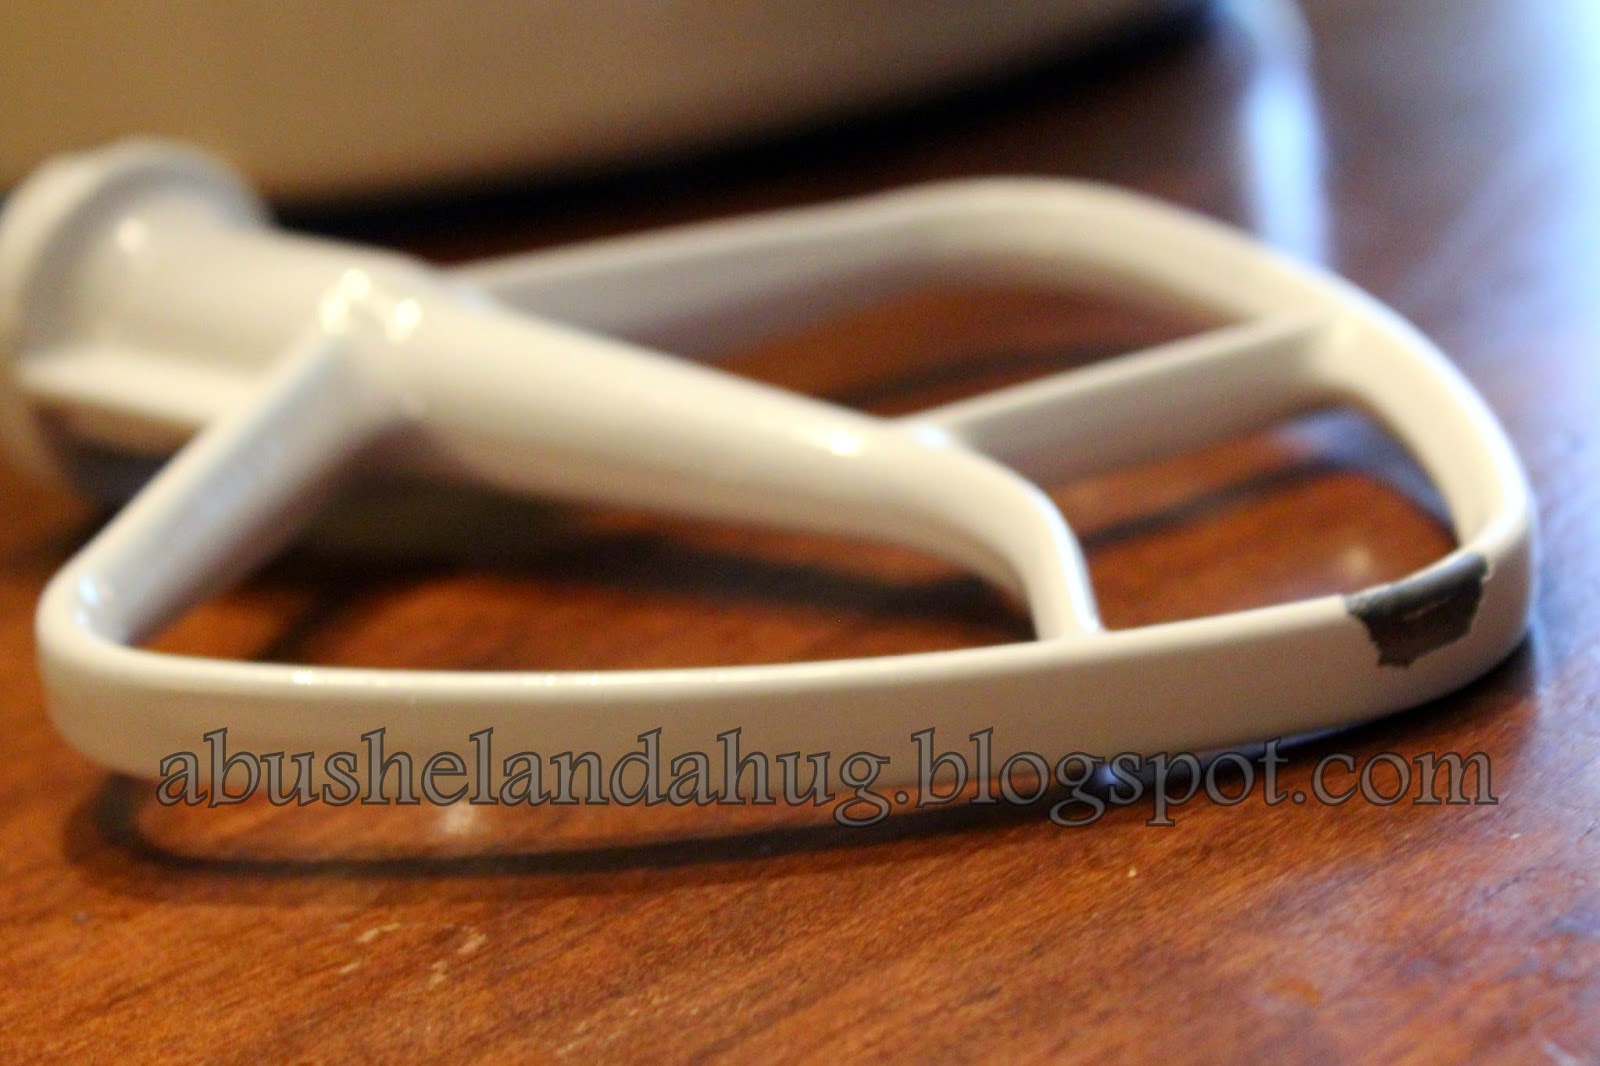
Here is what I learned.... If your beater is chipped, it is probably sitting too low in the bowl.  If you have a lot of batter that isn't getting mixed in the bowl, then your beater is probably sitting too high.
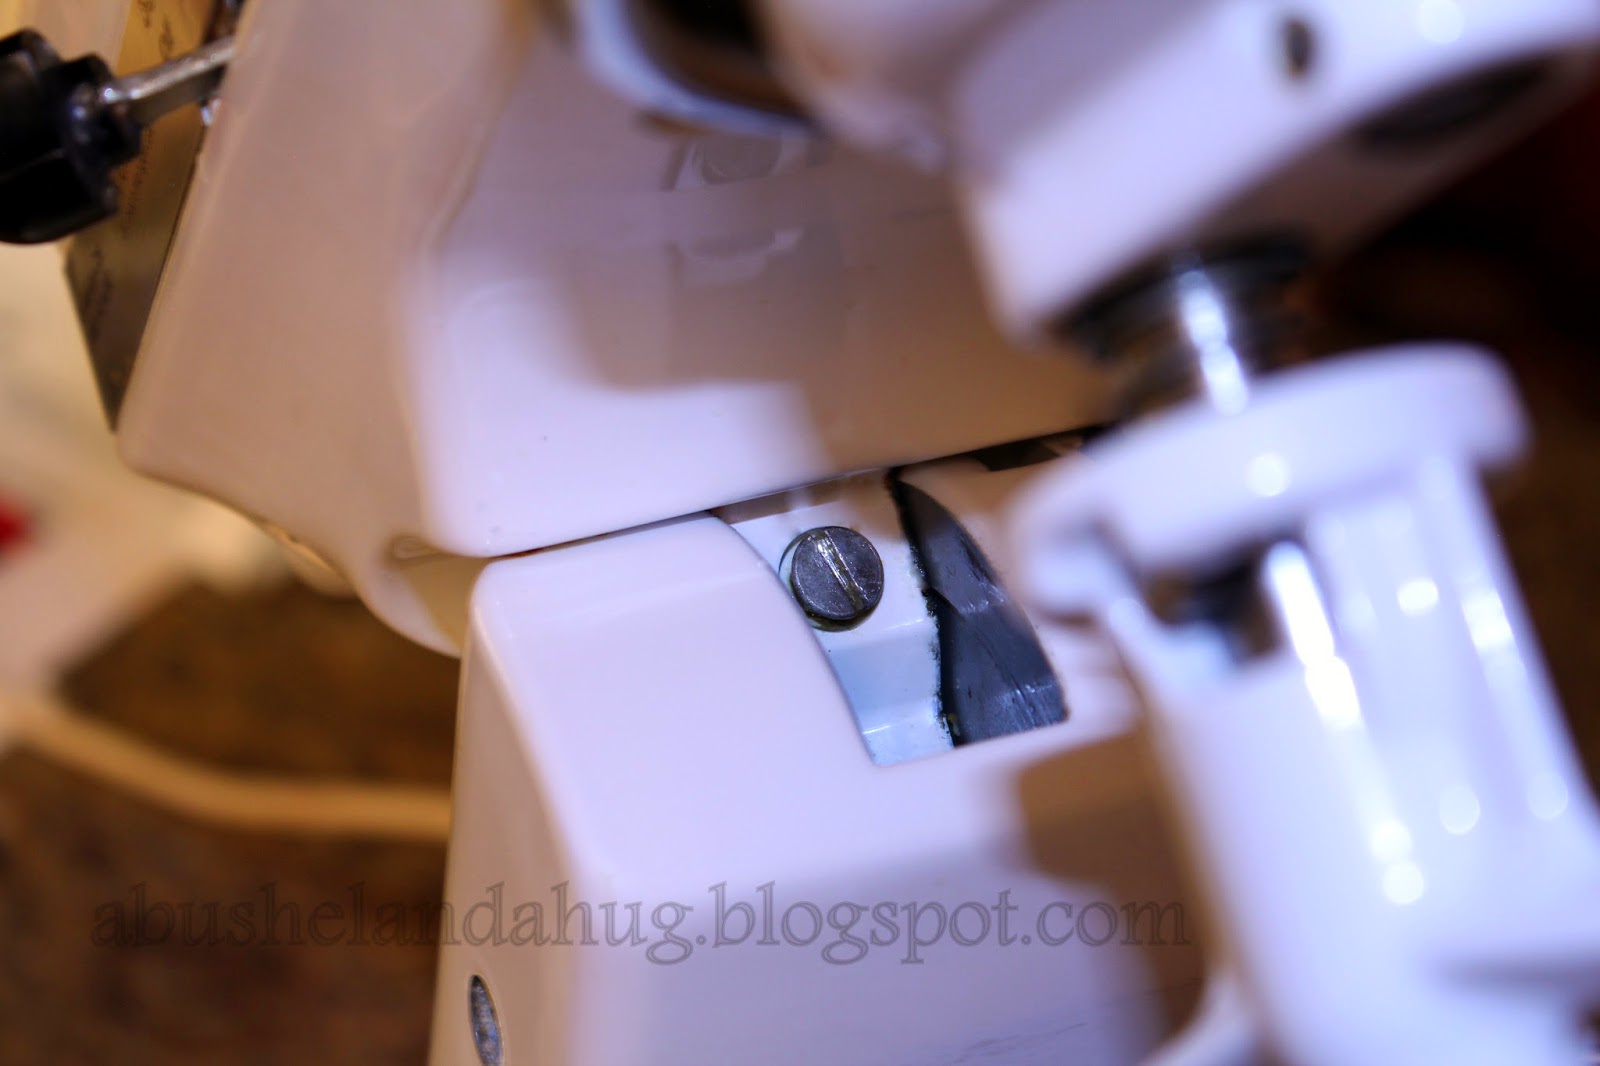
Raise the head of your mixer and notice the large screw.  If you turn this screw slightly to the left it raises the beater and if you turn it slightly to the right it lowers.  I was kind of unsure just how high it should be. I raised mine just high enough so that it didn't touch the bottom. After my adjustment I lowered the beater into the bowl, then I slid a piece of paper under the beater to make sure it wasn't touching the bowl.  

Another problem I've been experiencing is that the head of the mixer bounces when I am working with a stiff dough.    If you turn your machine over on it's side and look up under the head you will see a small screw which can be tightened to resolve this problem. 
I was very happy at how easy it was to fix this lady right up. With a little love and care, who knows how long this baby will last!

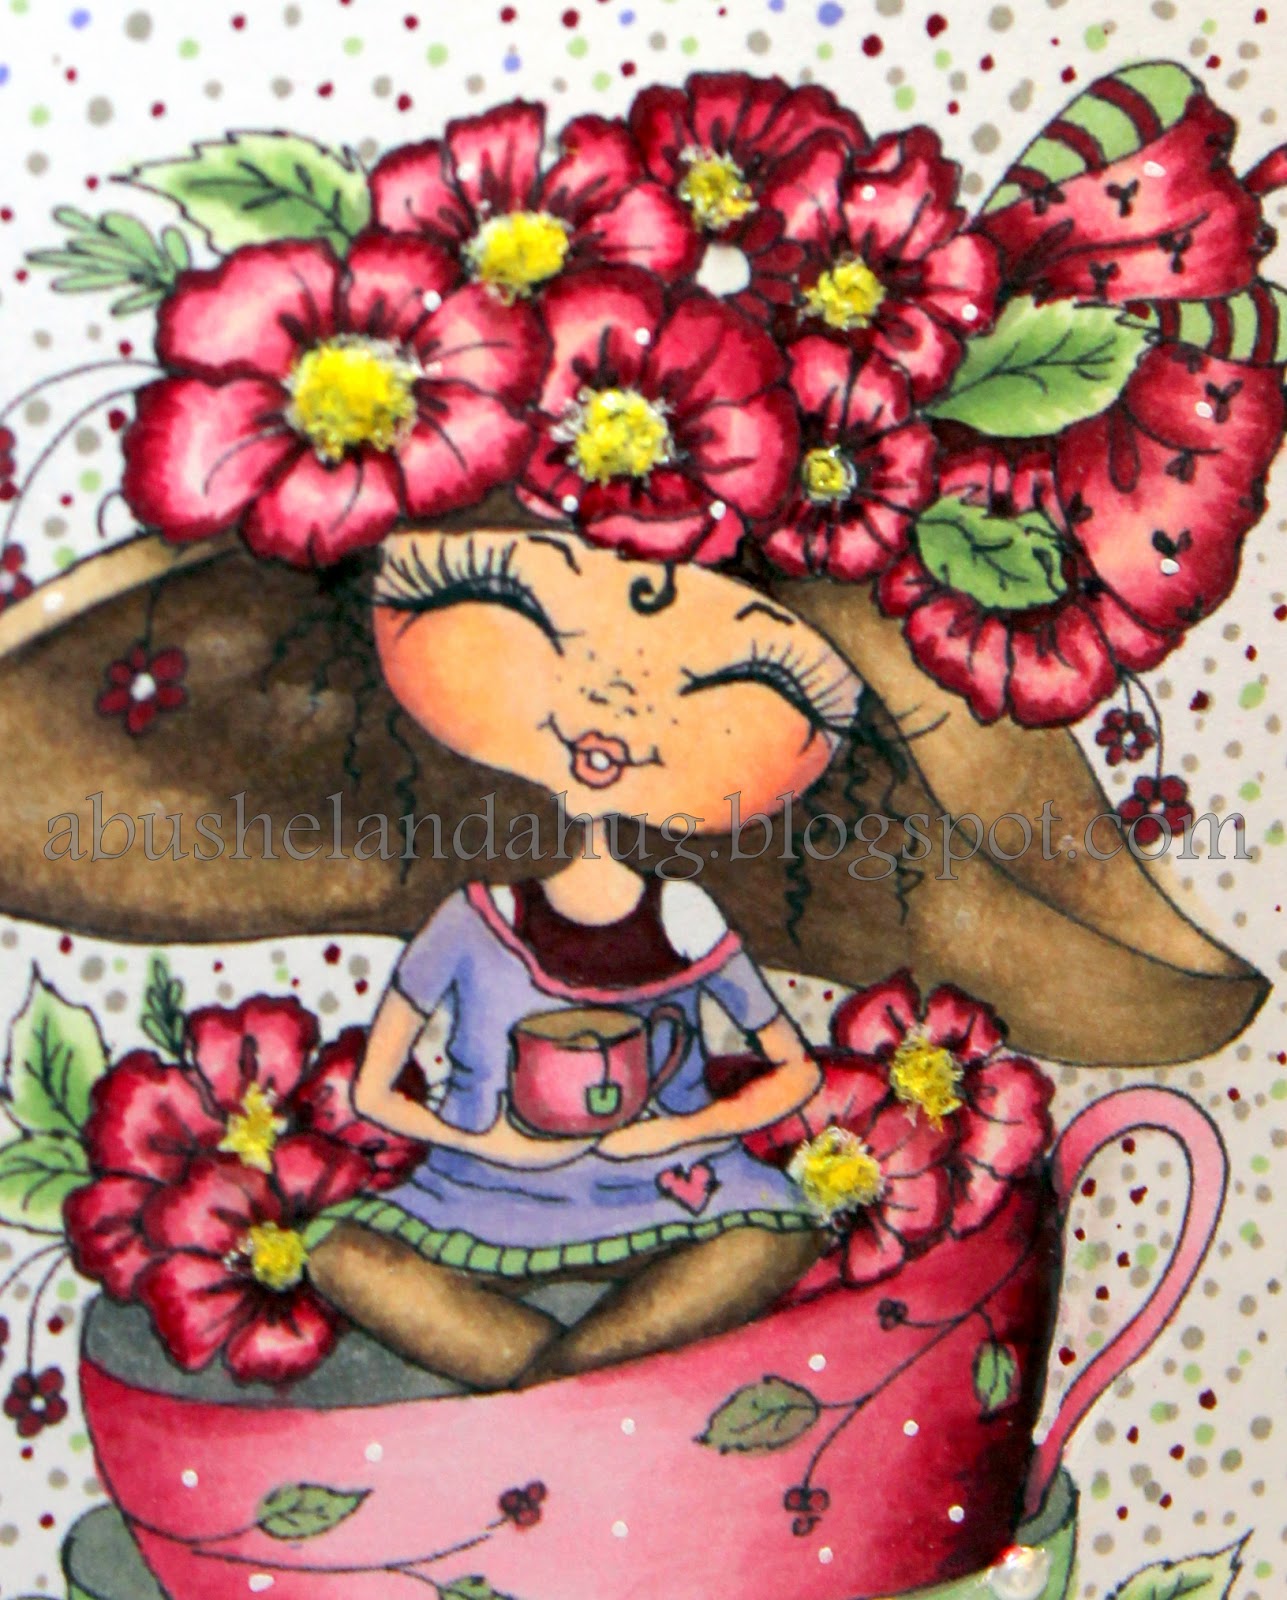
On to some FUN news. I found out that I was made Spotlight Artist over at the Lia Stampz Blog  for my SPOT OF TEA card. You can check it out on my October 14th Post HERE.  Whoop Whoop!! Wow I feel so honored. 


Have a Safe and Happy Halloween!!


Oct 29, 2014

Lia Stampz New Release and Giveaway

Hi Everyone!
Since it's close to Halloween... you wanna hear something scary?  

It's time to start thinking about Christmas!  EEEk!  Lol!

Here's your chance to get started.

LiaStampz has a new release! Silly Santa digital stamps set! and they also have a giveaway!! check out their challenge blog to see the rules at Lia Stampz
 

Aren't these images adorable?!  If you would like to purchase this set or check out their other items you can visit their Etsy shop HERE .

Have a great day!


Oct 23, 2014

Too Cute To Spook

Today's image is a little cutie.  She is a digital image from Tiddly Inks. The image is called "Too Cute To Spook".
I love the images at Tiddly Inks.  They are so cute.   I am so "out of practice" on my coloring right now.  I really had a fun time coloring her today but I think I will give it another go tomorrow.  You really need to practice with Copics and unfortunately I don't always get the chance.  I still think she turned out great, and purple is my favorite color!


I used the copics shown above on today's card..  The "BEST WITCHES" sentiment is a wooden stamp I had. (I have no idea where I bought it).  It is made by Northwoods Rubber Stamp Co.  I stamped it on some white card stock and just cut out a little flag by hand.  Then I took a fine tip purple marker and added some dash lines around the edge of the card and three little purple pearls at the  bottom to finish it off.  Hopefully my granddaughter will love this little purple witch.  Only a few more Halloween cards to go and then I gotta get crackin' on Christmas.

I am entering this card into 3 challenges:
1)Tiddly Inks Challenge #143-Non Traditional Halloween Colors
2) Lia Stampz Challenge #75- Spooky Cute
3)Deconstructing Jen-Deconstructed Sketch No. 174

Have a great day

Oct 14, 2014

A Spot of Tea

I have loved hot tea for as long as I can remember.  I like my tea usually with a bit of sugar or honey and a smidge of milk.  In the last 5 years or so I have also grown to love green tea.  I usually have one or two cups per day. This little image caught my eye when I was cruising around the web looking for something new to color.  I LOVE this image and I really enjoyed coloring her with my Copics.  I hadn't really used my markers for a while and thought I would sit a bit and color. 

For the card I kept it simple because I felt like the image already had so much going on.  I just distressed the edges to give it more of a shabby chic look.
Here are all the specifics:
1.  The image is from My Besties and you can find their images HERE
2.  I glued Flower Soft in the center of the flowers, I wanted them to be yellow but I didn't have that color so I used white and then colored it with my Y02 Copic marker
3.  I used Ranger Liquid Pearl on the green tea cup
4.  Copic Markers used:  Skin-E00, E50, E000, R20 and BV00; Flowers and top tea cup-R89, R85, R83, R81, R000 (N8 was used as shadowing on tea cup); Bottom Tea Cup and some of the leaves-G24, G21, G40, G20 (G85 was also used on some of the leaves); Hat and pants- E47, E44, E43, E41; Shirt-BV04, BV02, BV00;

This image is being entered into the Lia Stampz Challenge #74 Distressed + Kraft. You can visit her blog HERE for some awesome inspiration or to enter the challenge yourself.

Have a beautiful day!


Oct 13, 2014

A Super Simple Halloween Card

Happy Tuesday.  Well I am hoping my Tuesday will be better than my Monday was! Yesterday was just one of those days.... you know, the one where EVERYTHING you touch gets dropped, spilled or broken.  Yep that pretty much sums my day up yesterday.  Well even on "those" days I can still find so many things to be grateful for so enough whining from me.
I did manage to get a couple of Halloween cards made.  These will be for my grandsons.  They are a couple of little guys so nothing too spooky.

This was a super easy card and one that you could easily crank out several of in no time flat.

Here is how I made the card above but of course you could just use it as inspiration and put your own spin on it.
1.  Cut out a yellow moon using a 2 1/2 in circle punch.
2.  Stamp bats on the moon. I used a Craft Smart stamp. but any will do.  I think a witch would also
     be really cute.  Use whatever you have on hand.   I stamped the image with a Versafine stamp
     and sprinkled the image with Judi Kins Sticky Stuff embossing power.  THIS IS SOME REALLY
     COOL STUFF!   When the powder is applied to the stamped surface and heated it creates a sticky
     surface which you can then sprinkle your glitter on.  If you haven't tried it yet, you should! 
3.  Sprinkle Fine black glitter on the bats.  I used Martha Stewart Fine Glitter in Ebony.
4.  Using a pop dot, place the moon on the A2 card in the upper right hand corner.
5.  Cut a strip of patterned Halloween paper (mine is 1 1/2 inches wide) to stretch across the center 
      of the card.  Attach it using adhesive.

6. With your Sewing Machine and some black thread, add stitches to both sides of the patterned strip.
     If you didn't have a sewing machine and if your patterned paper was light enough, you could use
     a black pen to make little black dashes along the edge to look like stitches.
7.  Finish off the card by tying some string around it and creating a tassel. I placed my tassel just off
     to left hand side to help balance out the card.

If you create a card using this one as inspiration I would love to see it.

Thank you for visiting my blog! I try my best to give you accurate information. I am not affiliated with any of these companies nor did I receive compensation or free product for mentioning them. All products used and mentioned were personally purchased... except any digital stamps won through challenges, which were received from the company with no expectation. This blog is NOT sponsored, requested, or paid and I did it only because I wanted to. The information provided in this video is based on my own personal experience and opinion. I am not an expert nor do I work for these companies.
I hope you have a great day!  


Oct 10, 2014

Chocolate Truffles YUM!

My Daughter-In-Law recently had a birthday.  I put together a bunch of goodies to help her get ready for the chilly days ahead.  I bought her a pair of finger gloves, which is totally her style, a pair of cute cute earrings, some Chai Tea (her fave), some Cafe Mocha mixes and some homemade chocolate truffles.  I made a batch of these at Christmas time and she RaVeD about them so I thought I would make some special just for her.  I gotta say.... they really are DELISH!


This recipe is one I've used several times and it always turns out great.  I use a recipe from Ina Garten. You can find it HERE.  Make sure you read all instructions before you make them and to follow all directions carefully.  You wouldn't want to spend all that hard earned cash on the bestest chocolate, only to have it seize up on you.  Once the truffles are made, you can roll them into your favorite coating.  I have used a variety of things but some of my favorites are coconut, chopped hazelnuts, cocoa powder and powdered sugar.  Also, just a note about the way I made these.....I didn't add the liqueur called for in her recipe, so I added a dribble more of the strong coffee to compensate.

I placed my truffles in mini cupcake wrappers and then put them in a Martha Stewart window box. Martha Stewart has some great gift boxes for treats.  I found these at Michaels. It really makes a "sweet" gift (pun intended). 

I had a cute little box on hand that I re-purposed as a gift box for her gloves.  By adding a paper rose, I was able to cover up the label that was printed on the top of the box. If I receive a nice box I hate to discard it.  However I don't have a lot of space to store these things so I save only the really cool or nicely made ones. 
 
I didn't mention that I decorated a coffee mug using a Sharpie. This is such an easy thing to do as well.  There are all kinds of things you can do with this application.  I plan on putting together a tutorial soon for this but you can find Sharpie projects all over Pinterest.

Well I better get back to work on my Halloween cards. I hope you have a fantastic day! 

Oct 6, 2014

Handpainted Cowgirl Silhouette

Happy Tuesday everyone.  I think I have finally resolved my blog issues.... I think.     I apologize to my Gmail subscribers who might have received my last post twice.  Hopefully all will work properly with this email.

My Brother-In-Law asked me for a favor.  He had gotten an idea for something he wanted to put in at his lake house.  I was a little hesitant because I am not an artist! I didn't want to disappoint him with my lackluster abilities!  In the end, I caved.  His idea was just so darn creative I couldn't resist helping him out.  I know you've probably seen the black cowboy silhouette pieces that are attached to sides of barns, homes and fences.  Well....

I turned this.................................


into this.........................


Ha !   Isn't that funny?!! We didn't trim anything off of the original shape......... obviously, which accounts for her excess "up-top".  I think that's what makes her um, let's say "interesting".  

As I said, I'm not an artist and it's not perfect but I think he was pretty happy with the final result.   The cowboy silhouette is just ply board, so I painted her with acrylic paint and then sprayed two coats of polyurethane. I used one that is for outdoor use. I used the same brand that was used on my picnic table project a few posts back, except I used it in a spray.


So that little project is done and on to the next.  I am trying to get things checked off of my project list before the holiday's get here and you know they are right around the corner.


Have a wonderful day!!


Oct 3, 2014

Chalkboard Paint To Update An Old Piece of Furniture

I wanted to get a quick little post out today for a couple of reasons.  First of all I am trying to change the way my emails are being delivered for people who have subscribed to my post.  I have had SO MANY issues with the the way these were being handled.  I am hoping to get this resolved.  If something looks strange on this email, I apologize.  It's a real work in progress for me.

Ok,  now on to the fun stuff.  So--- I was giving you some quick things I did to spruce up around my place and I left out one one of my favorites!
We recently acquired this beautiful piece of furniture from my Mother-In-Law.  It was my husband's Great Grandfathers.  I love it.  It adds so much warmth and charm to our home.  The side of the hutch was once attached to some old cabinets many many years ago.  It was painted with what I was sure was lead paint.  I didn't really feel like tackling the whole lead paint issue and trying to figure out how to remove it safely.  The paint was old and ugly and I had company coming over!!  YIKES.

I found some chalkboard paint in the garage (image that).  I painted the side and then once it was dry I used a chalkboard marker to paint the "What to Buy" title.  Now I can use it to jot down my grocery list.  I use it all the time and I think it looks awesome.

Well as I said, this is a quick post.

If you have any questions please feel free to comment.
Have a great weekend.