Well I haven't had time to do many cards or crafting lately but I have found time to eat! Ha ha, I ALWAYS make time for that. I am guilty of over indulging every now and then. You see, the problem is, I REALLY do enjoy baking and cooking.... REALLY. It is relaxing to me. I just wish I could find someone who thought it was relaxing to do dishes........ dishes I do not care for but alas the two go hand in hand.
Today I am going to share a bread recipe with you. I received a "sourdough starter" from my mom for this recipe. It was so easy and delicious I thought I would share.
Warning- you may receive unexpected visitors while baking this bread. Ahhh the smell of bread baking in the oven is out of this world!!
Have you ever heard of a sourdough starter? I knew I liked sourdough bread but hadn't really used a sourdough starter before. So I did some research on the subject and found some really interesting facts. I could go on and on with the science behind it, (hey I said I like to bake!) but to keep this post short I won't get into those details. In short, it turns out that most people would say that this is TECHNICALLY not a true sourdough recipe because it uses yeast. Soooo now that I made that disclaimer, I will just say that regardless of what it is, I used this starter to make some really good bread.
The way a starter works is that you take a few ingredients which over time will ferment and create the leavening agents needed for bread making. Once you have the starter, you keep it alive by feeding it. You use part of the starter for baked goods and the other part is "fed" and then left to multiply for the next baking recipe.
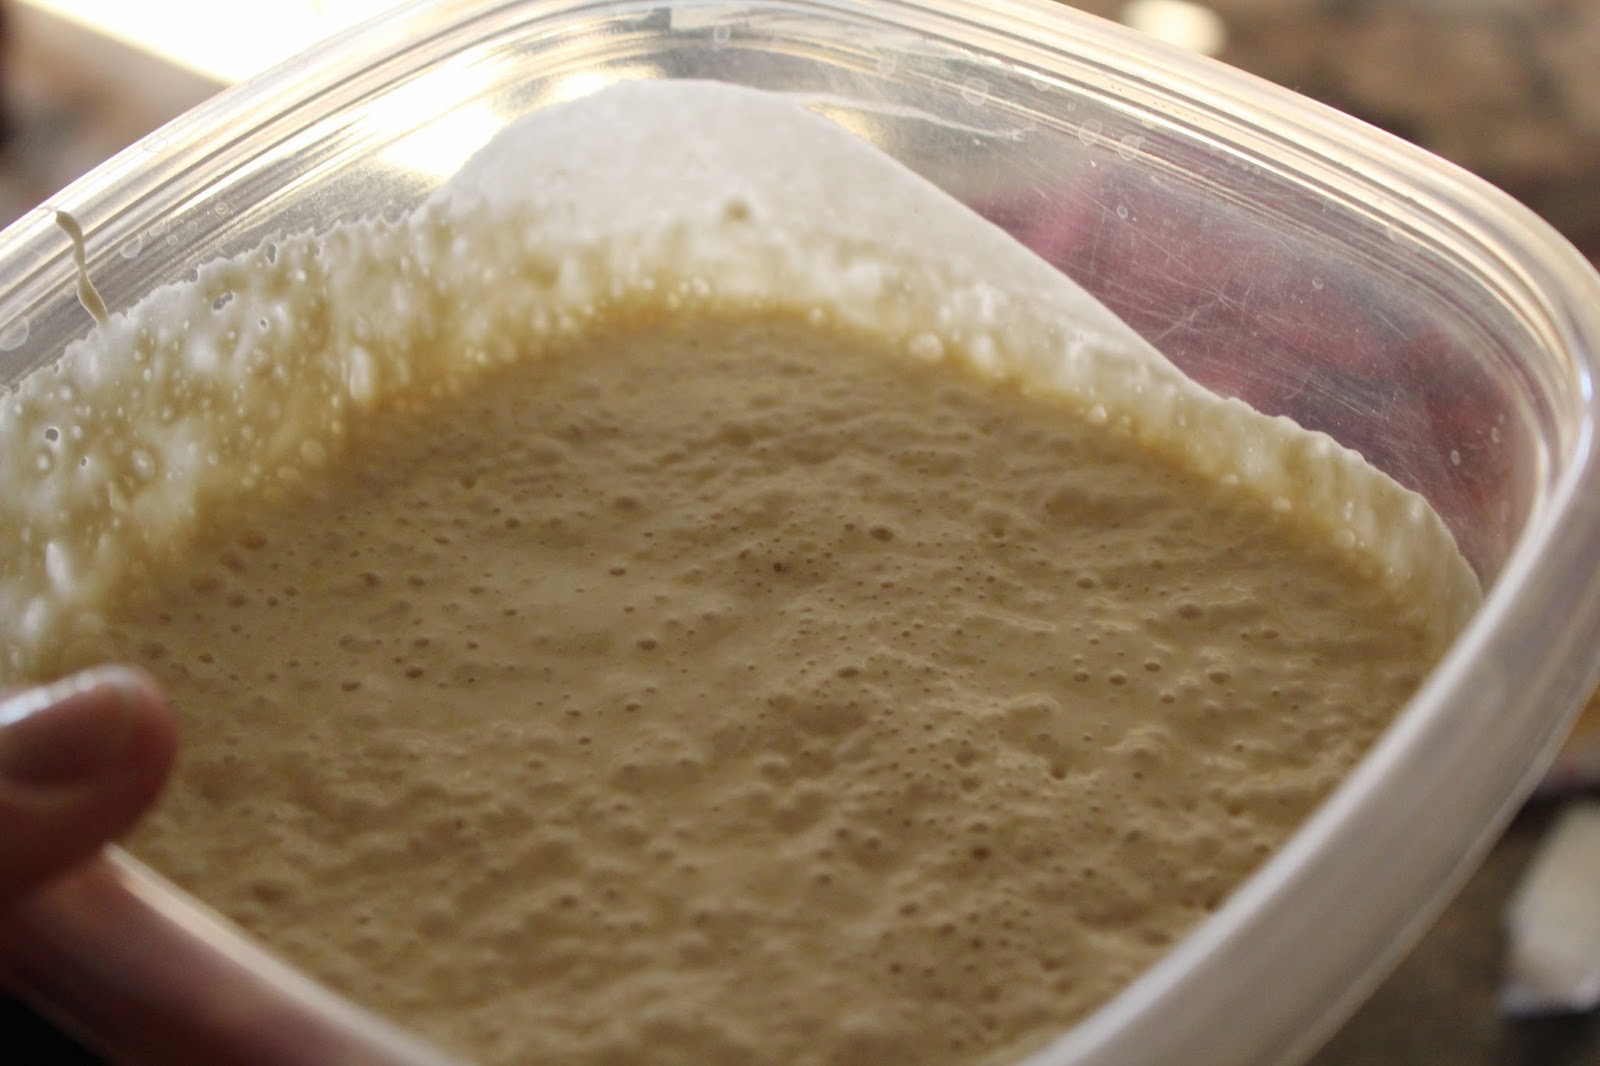
So lets start with the "starter", it will look like this once it has been stirred and fed. Just a word of caution, if this has been sitting too long in the fridge it will NOT look like the picture above. The starter will have separated and will look kinda gross actually. Don't panic like I did.... just give it a good stir. Also note that mine above is shown in a plastic container, during my research I read that you should keep the starter in a GLASS container and that you should not seal it tightly.
Recipe for Sourdough Starter
1 pkg. yeast
2 cups warm water
2 cups flour
Dissolve yeast in water for 5 minutes. Add flour, cover with a towel and let ferment for 48 hours at room temperature then place in the fridge. The starter will keep in the refrigerator for up to 2 weeks before being fed again. Stir 1-2 times daily between feedings.
Note: when removing the starter for your recipe, replace that starter with the same amount of flour and the same amount of water. example- if you remove 1/2 cup starter for a recipe, you will need to add 1/2 cup of flour and 1/2 cup of water to the starter. Let the starter sit out at room temperature again for 24 hours and then put back in the refrigerator. You can just continue this cycle for as long as you like. As stated above, I would keep in a glass container covered with a loose lid.
So once you have your starter made and have let it ferment for a couple of weeks, you will be ready to make something delicious with it.
Sourdough Country Crust Bread
2 pkg. yeast
1 1//4 cup warm water
1 cup starter
2 eggs
1/4 cup sugar
1/4 cup oil
6 - 6 1/2 cups of flour
1 teaspoon salt
Dissolve yeast in water. Add eggs, starter, sugar, oil, salt and 3 cups of flour. Beat until smooth. Add enough of the remaining flour to make soft dough. Knead 6-8 minutes on a floured board. Cover your dough and let rise in the bowl for about an hour. Remove dough from bowl and divide in half. shape into a loaf and place into two, well greased bread pans. Let this rise again for about 30 minutes and then bake in an oven preheated to 375 degrees for 30-35 minutes.
I cut this recipe in half because I didn't want two loaves of bread going to my waist... and there are only two of us in this household..........and I hadn't tried the recipe before and wanted to make sure it was good. If you do decide to make the full recipe you could always give a loaf to a neighbor or a friend. Who wouldn't love a loaf of homemade bread?! Once cool, I cut my bread with an electric knife which seemed to yield the best results without squishing my bread while slicing.
I also have recipes for English Muffins, Sourdough French Bread and Sourdough Biscuits which can be made using the starter. I haven't tried these recipes yet but if you are interested and would like them just comment below and I will get them to you.
Enjoy and have a great day.

.JPG)